2 Piece Counter Flashings are designed to allow for installation of each piece at different stages. Installing 2 piece flashings can be simple when instructions are followed. When the wall is being built the mason usually installs the reciever section first. This allows for the insert to be installed by others when the base flashing of the roof is in place and ready; thus eliminating any mangling of the material that would take place in a brand new one piece system. Keep in mind, we can also pr...
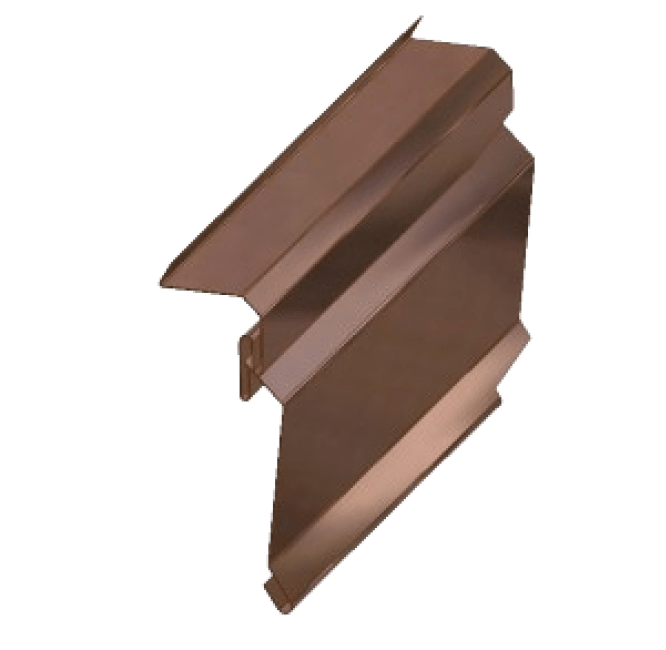
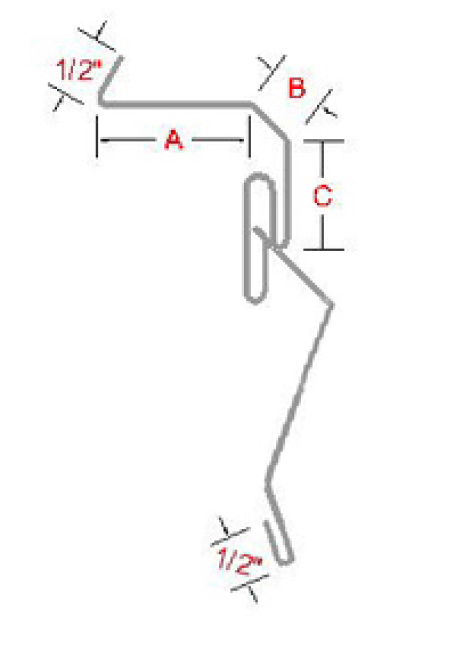

2-Piece Interlocking Reglet Counter Flashing's Interlocking design gives a cleaner finished product and makes installing it properly an easier job. Our 2-piece interlocking reglet counter flashing's are designed for flexible installation, allowing each component to be added at different stages of the construction process. This innovative design enhances efficiency and minimizes the risk of damage. Installation Process Receiver Section Installation: The installation begins with the receiver section, which the mason installs first. This critical step prepares the wall for the insert, allowing it to be added later once the roof's base flashing is in place. This approach helps prevent damage to materials, a common issue with one-piece systems. Insert Installation: Once the base flashing is ready, the insert can be easily fitted. This staggered installation method eliminates the risk of damaging new materials, ensuring a seamless finish.

Share
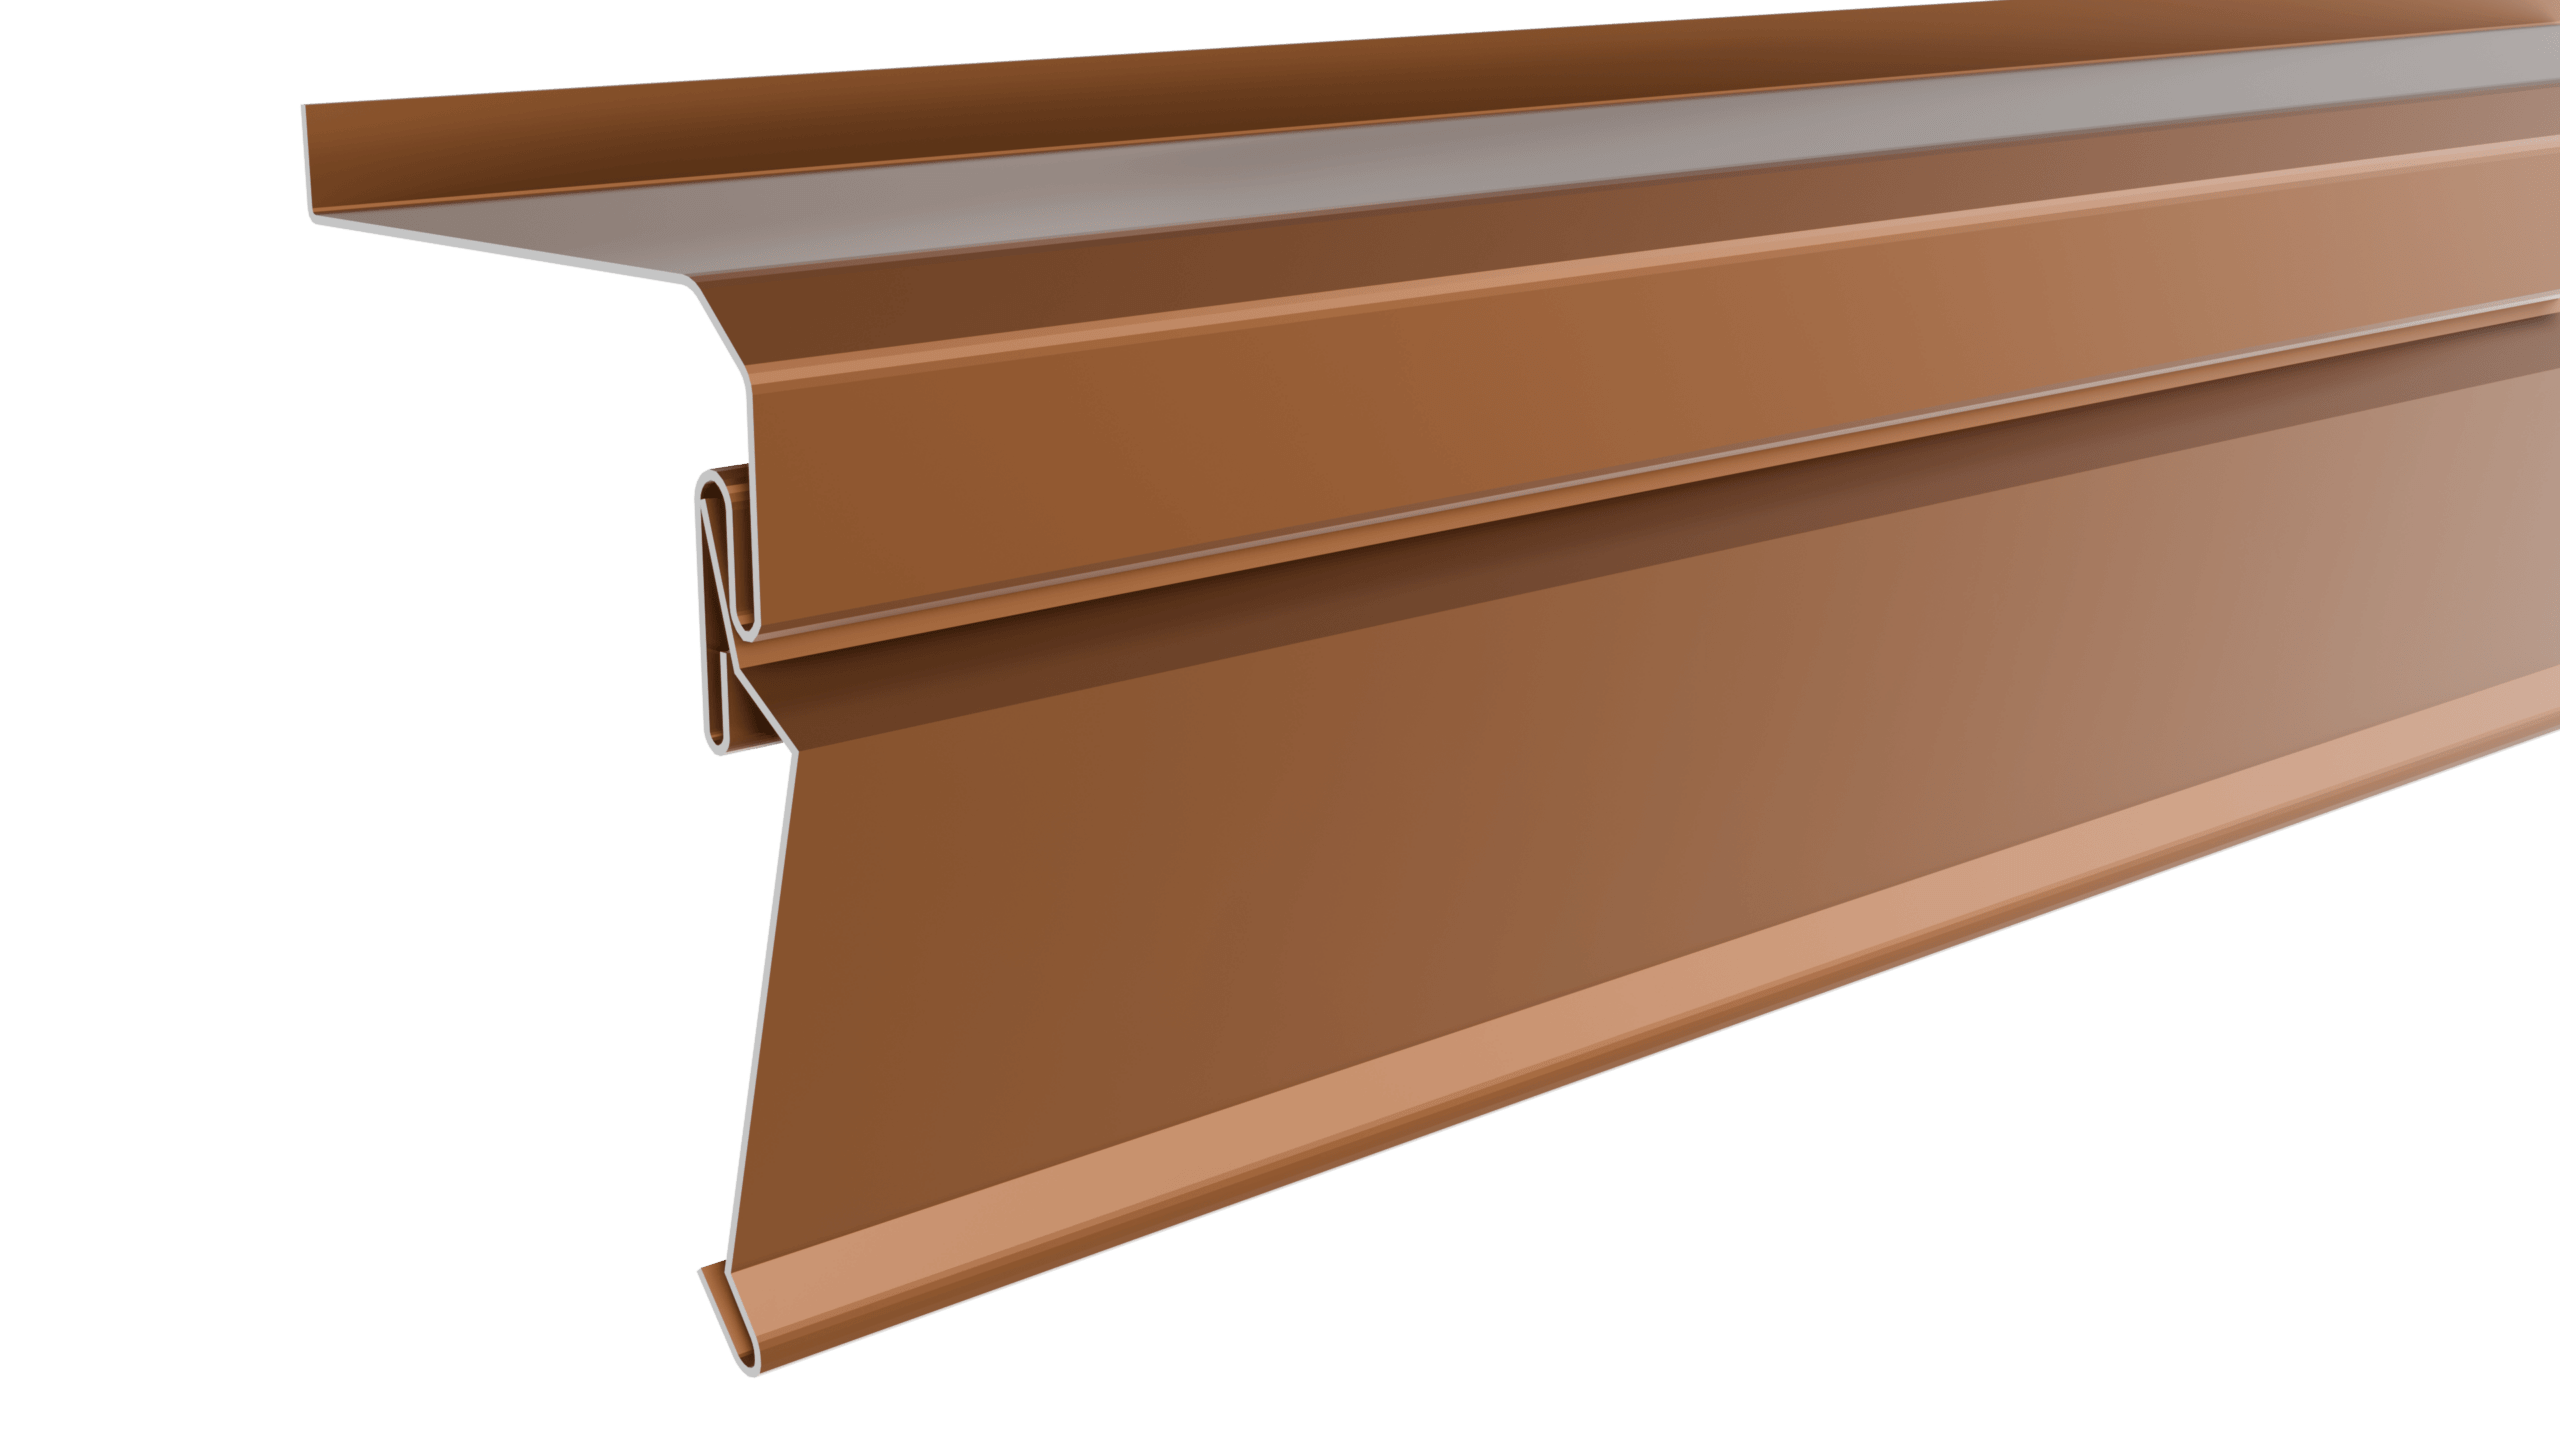
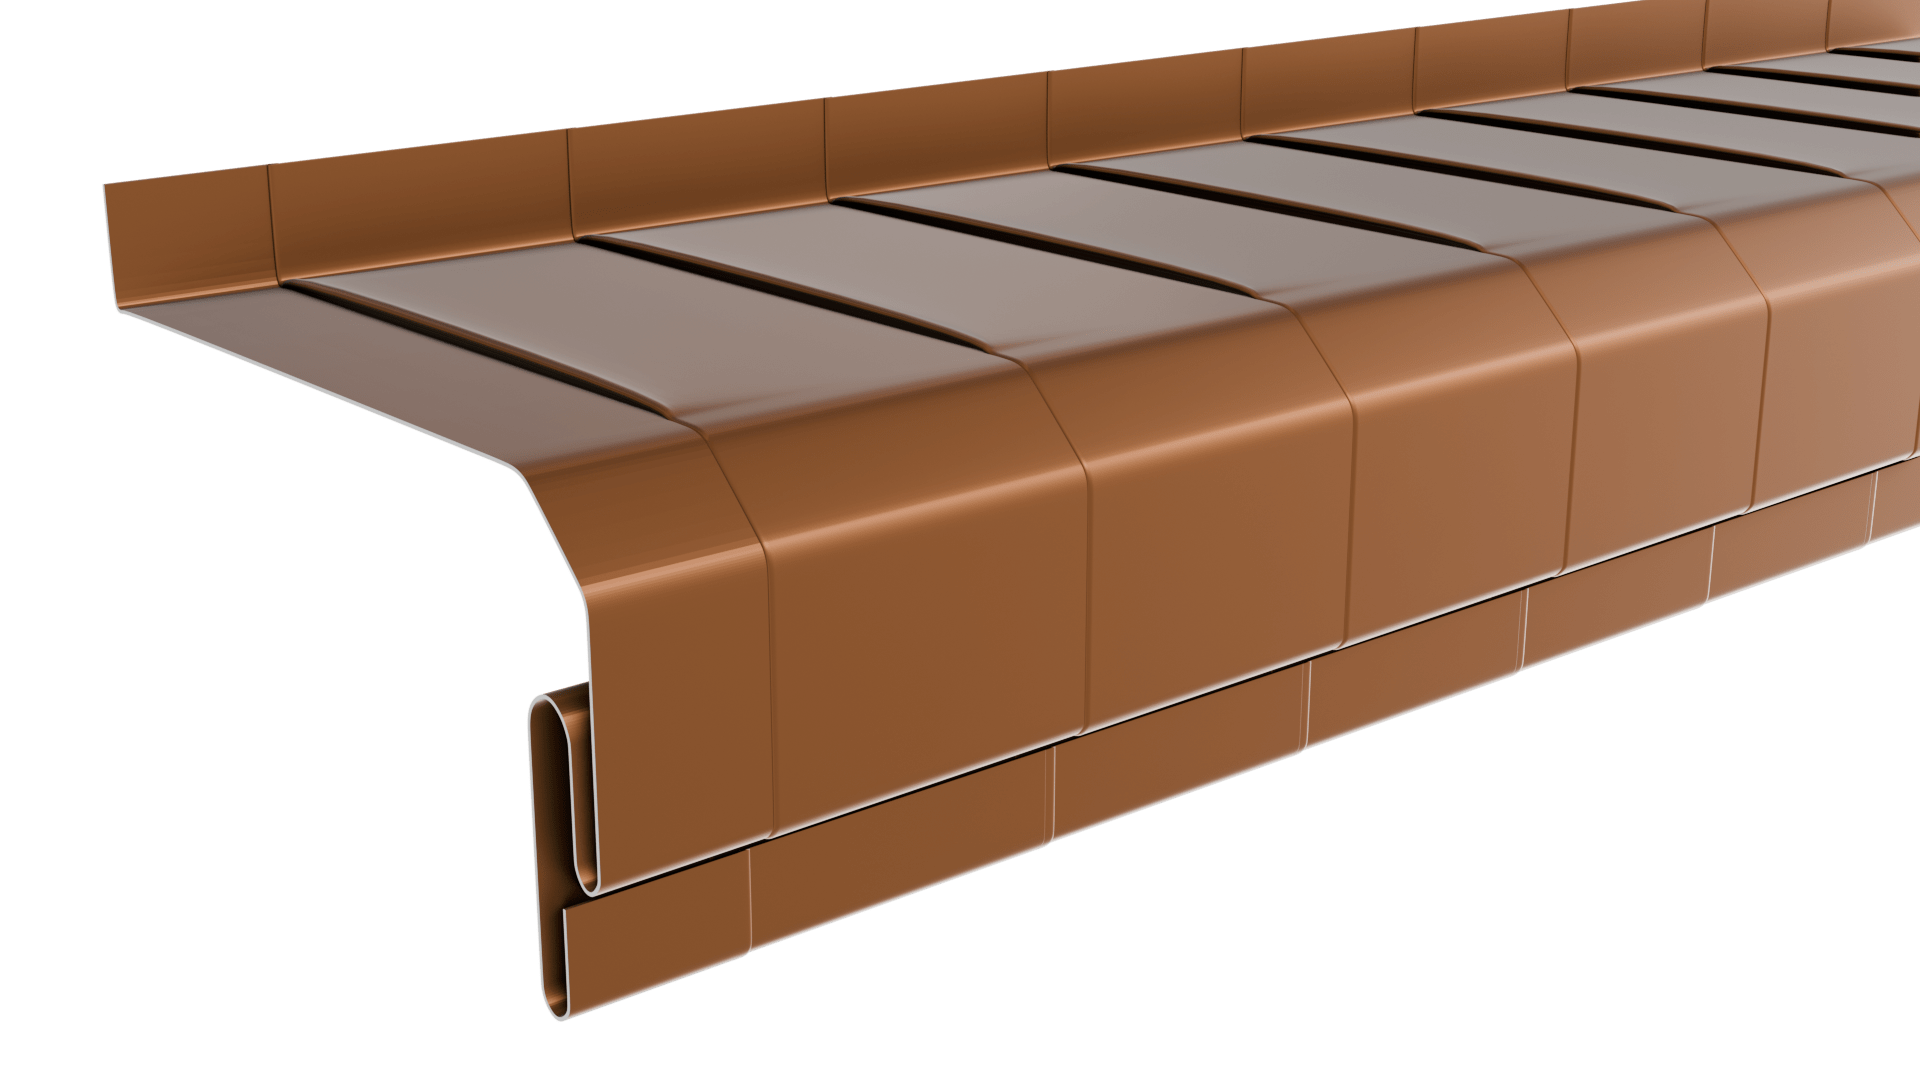

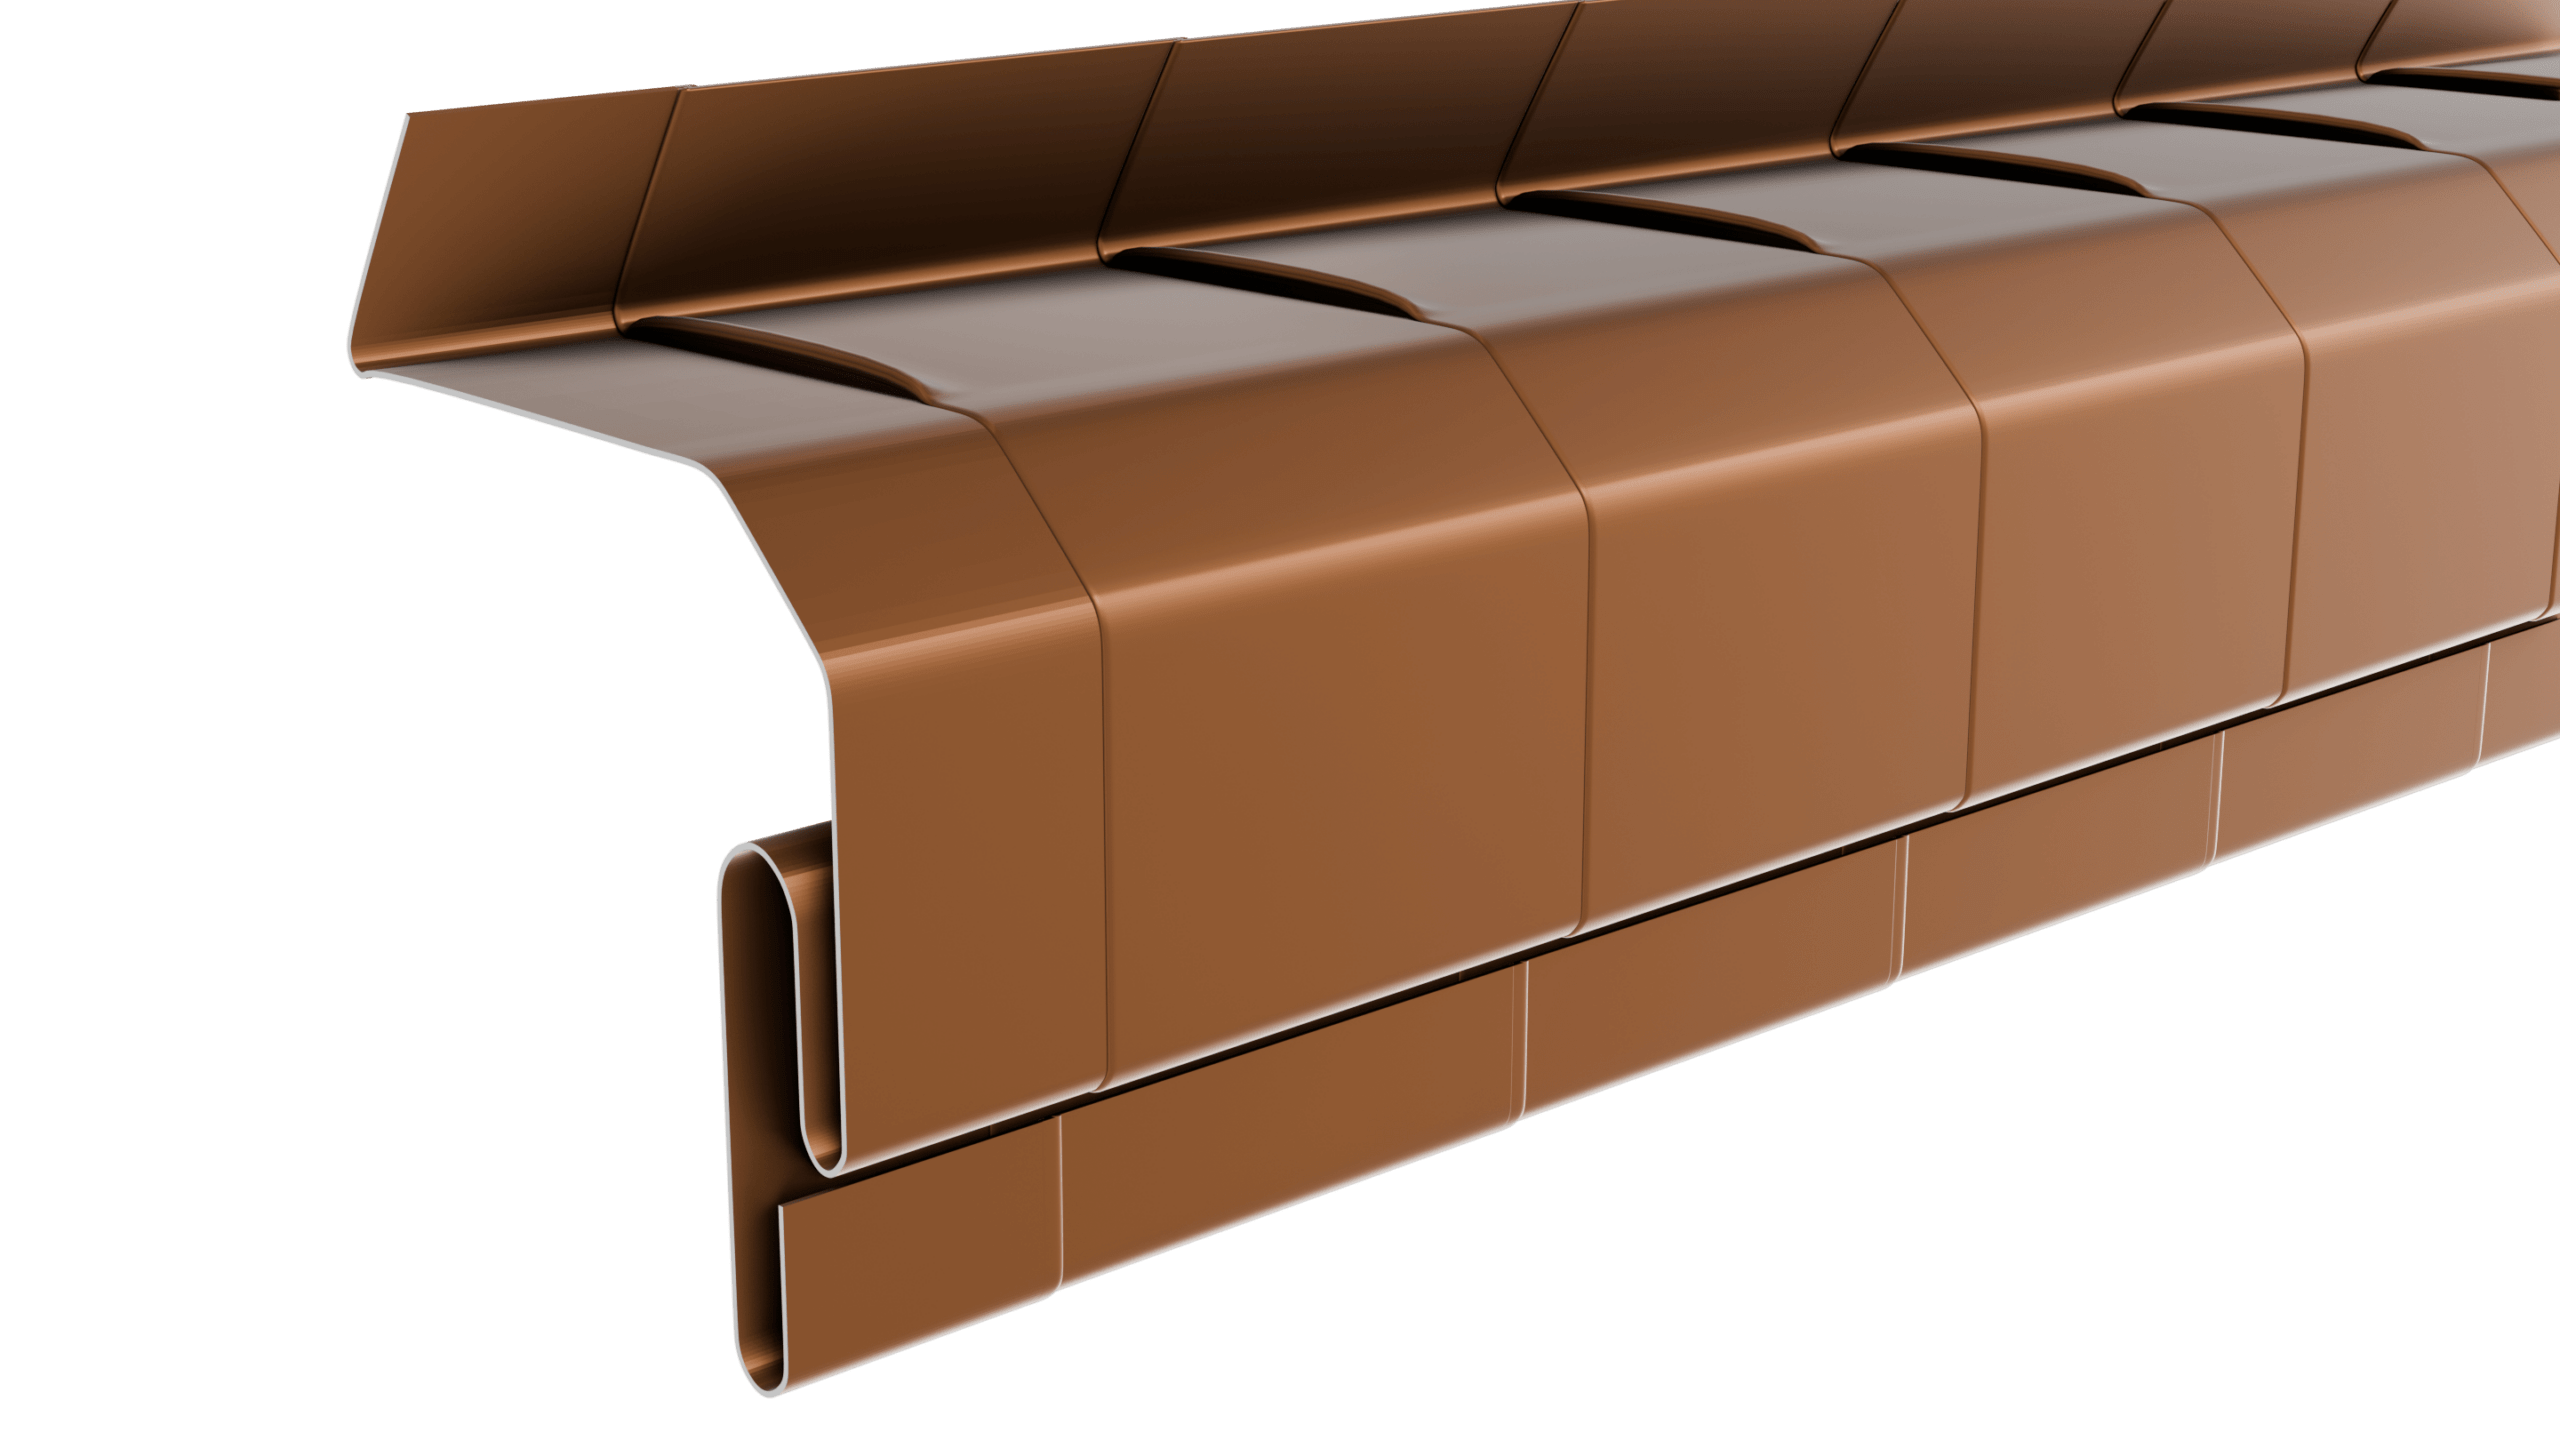
2-Piece interlocking Counter Flashing's 2-piece counter flashing's offer a flexible installation process, allowing each component to be added at different stages for optimal efficiency. The interlocking design gives a cleaner finish with the metal being in position for easier soldering. Installation Overview Receiver Section Installation: The mason installs the receiver section first, typically positioning it behind one course of brick. This design features a return bend that effectively directs water away, helping to prevent moisture intrusion. Insert Installation: After the base flashing is installed, the insert can be easily added. This staggered approach reduces the risk of damaging materials and ensures a secure, watertight fit.

Share
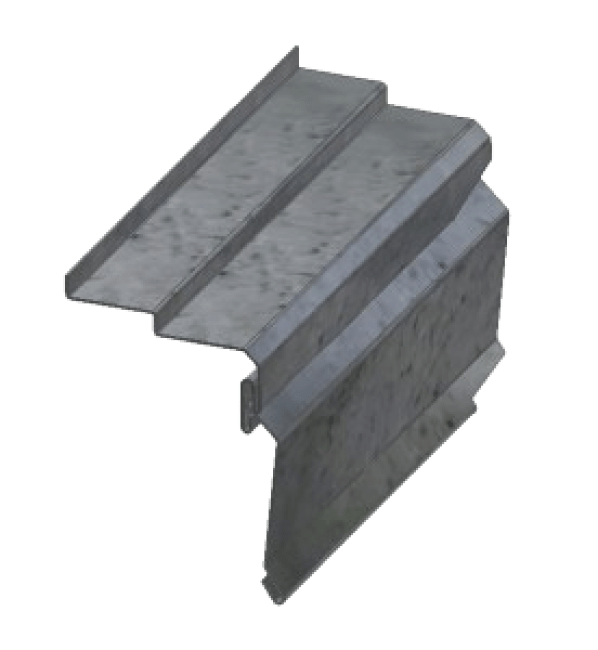
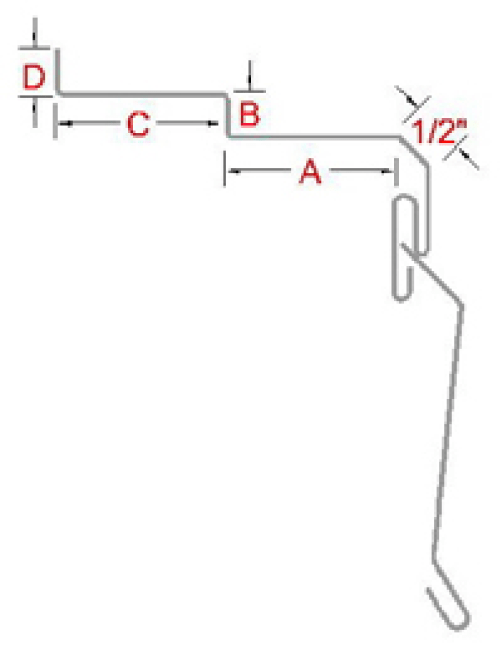
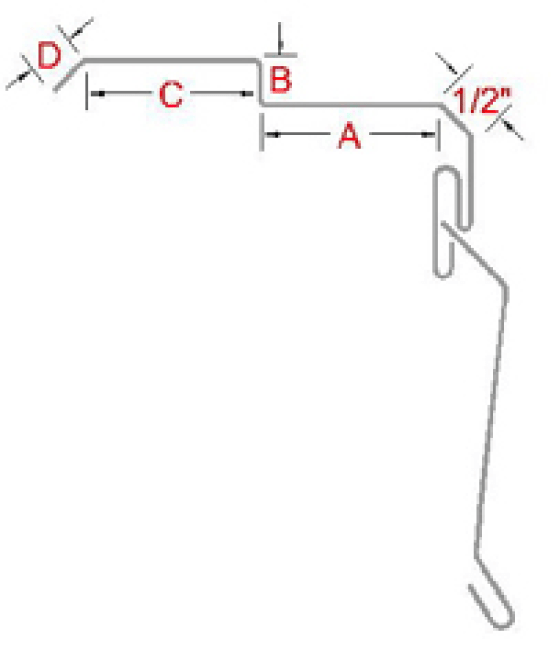
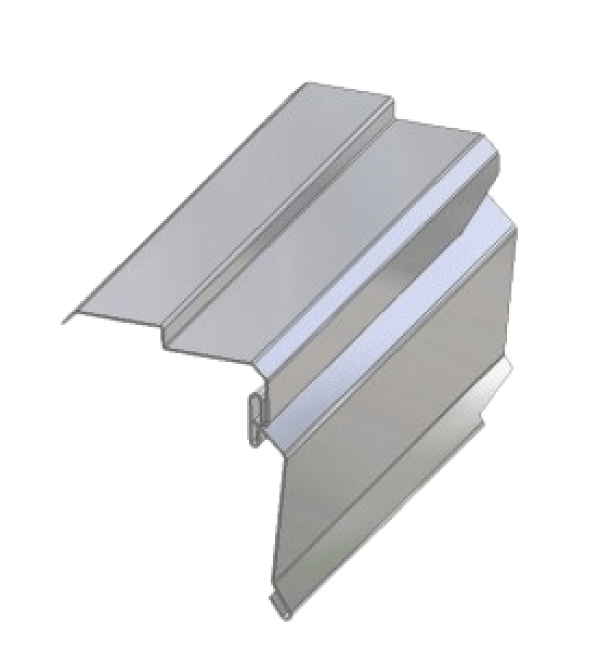
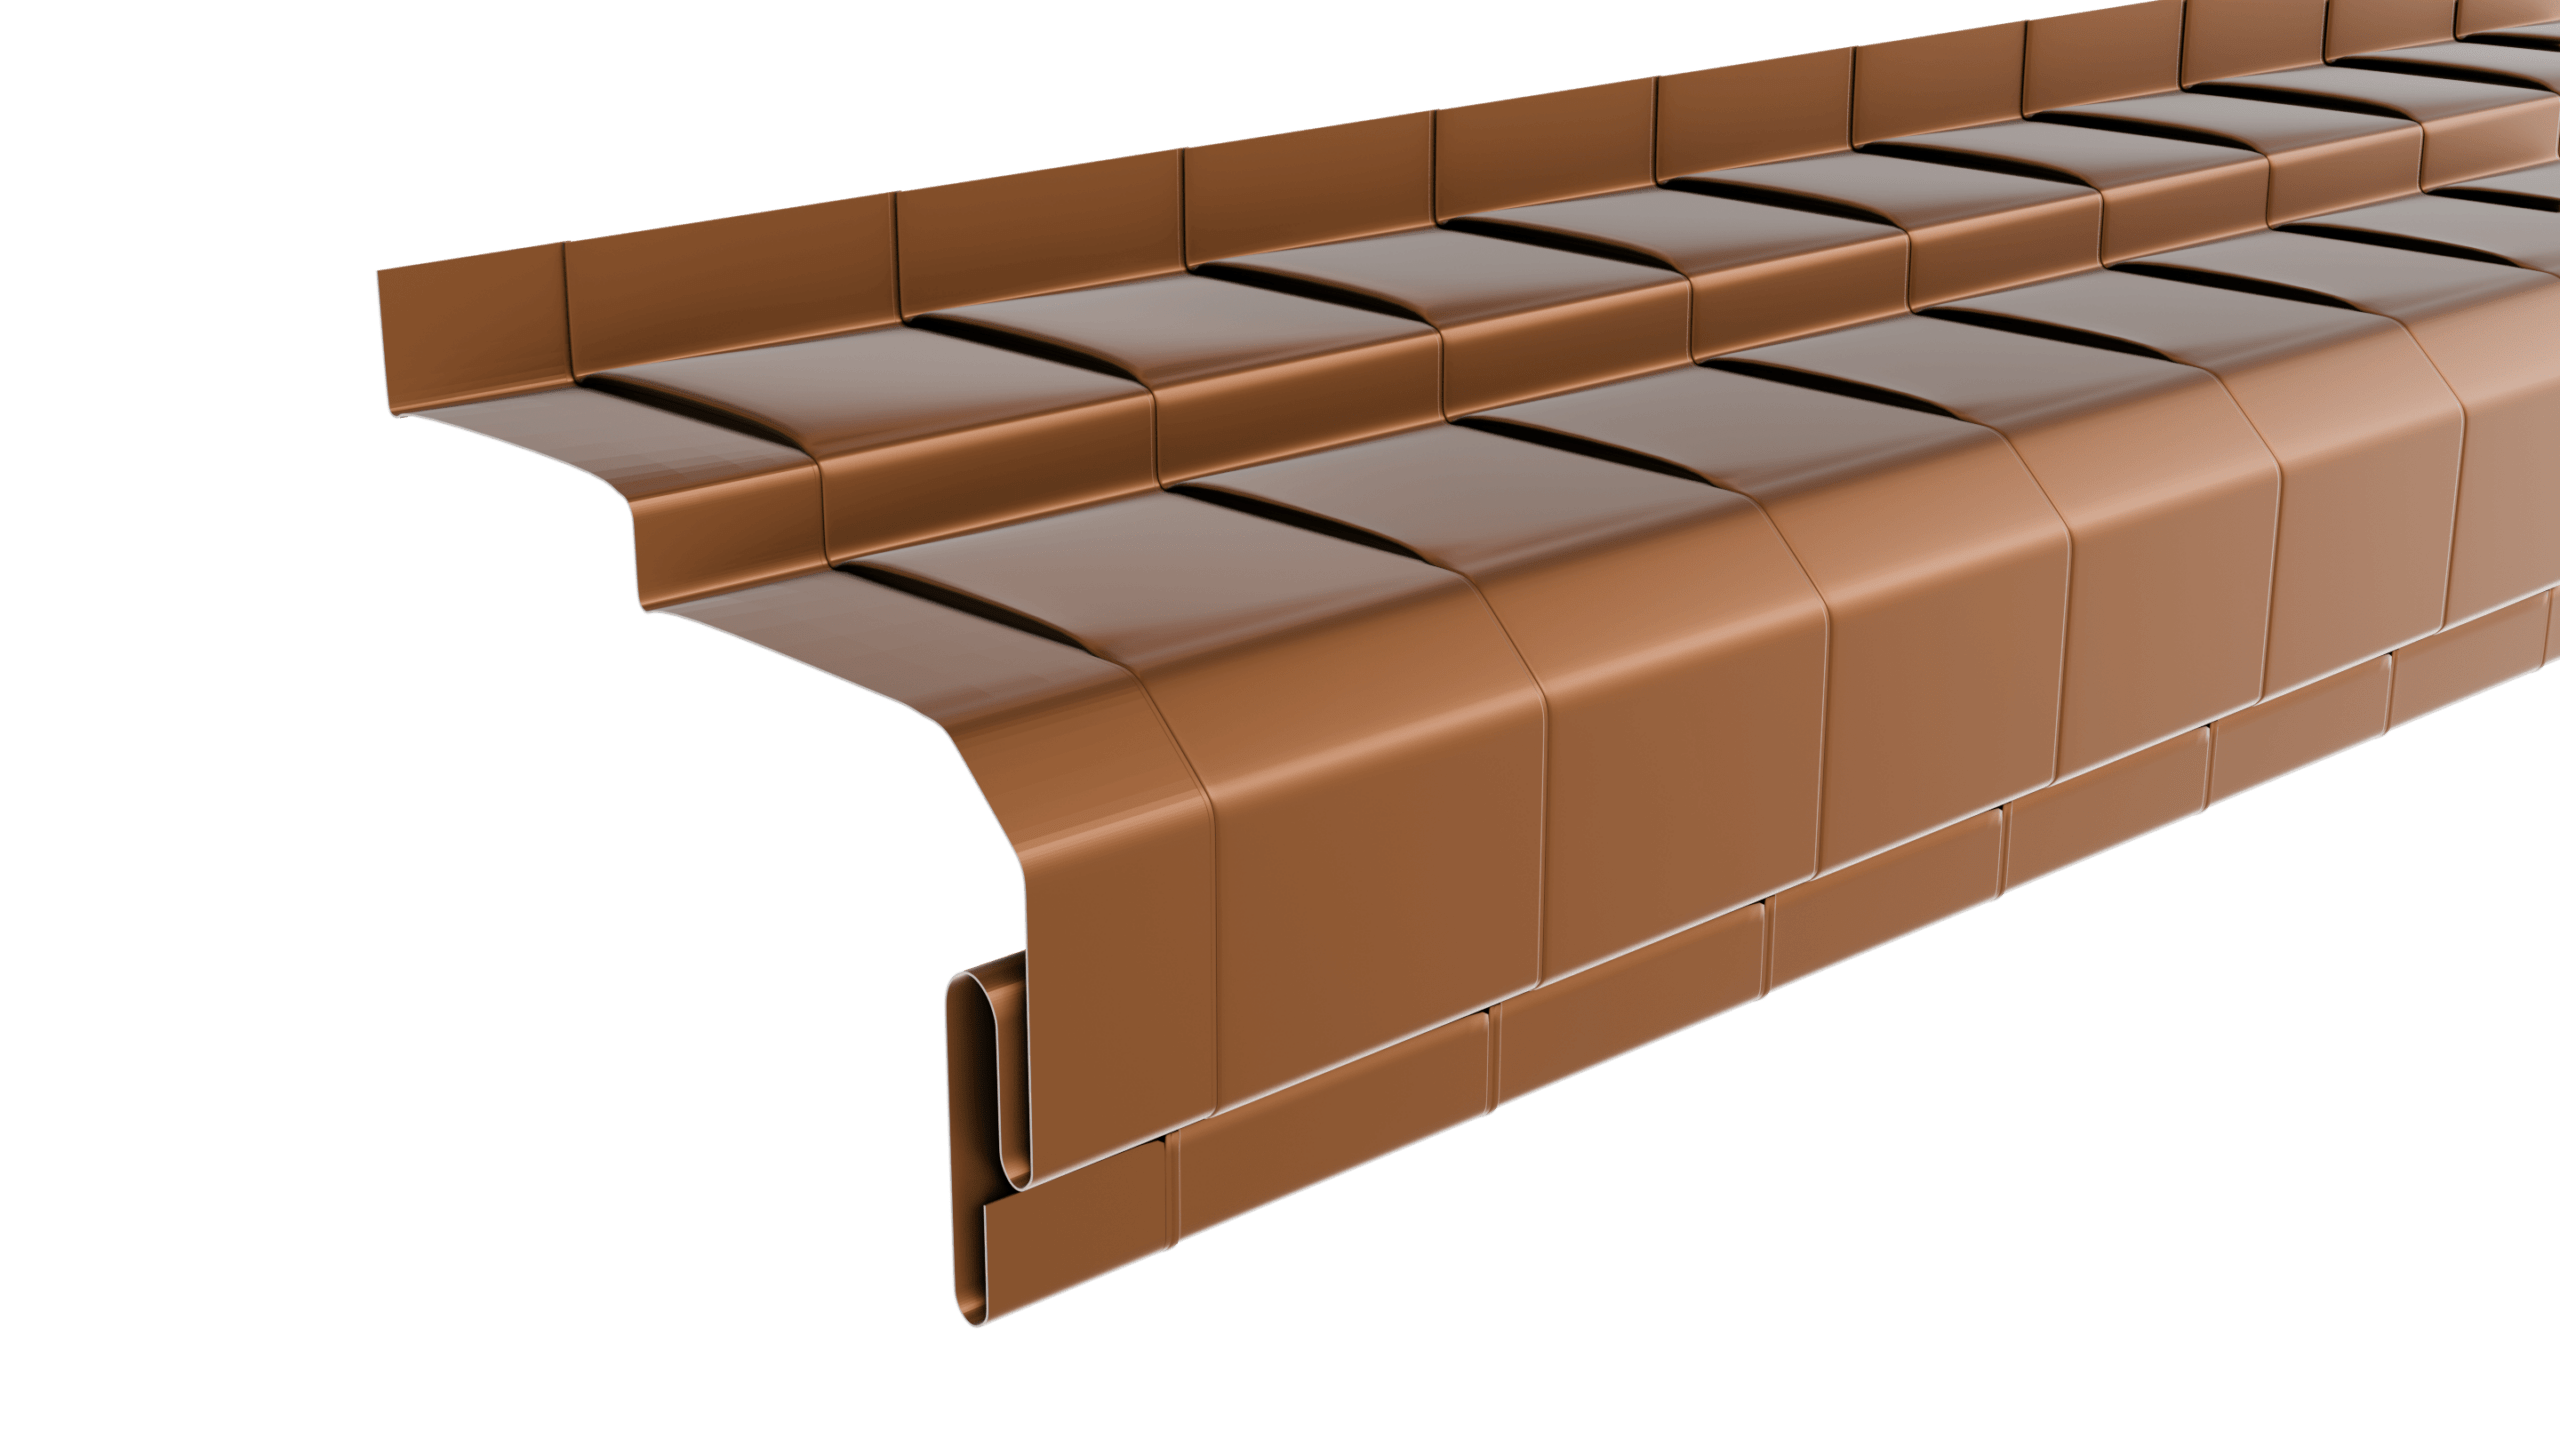

2-Piece Interlocking Counter Flashings XL Interlocking notching makes this product install quicker and easier to solder in field 2-piece interlocking counter flashings XL are designed for deeper integration into walls, providing a flexible installation process that allows each component to be added at different stages for optimal efficiency. Installation Overview Receiver Section Installation: The mason begins by installing the receiver section, typically positioning it behind one course of brick. This design includes a return bend that effectively directs water away, helping to prevent moisture intrusion. Insert Installation: Once the base flashing is in place, the insert can be easily added. This staggered approach minimizes the risk of damaging materials and ensures a secure, watertight fit.

Share
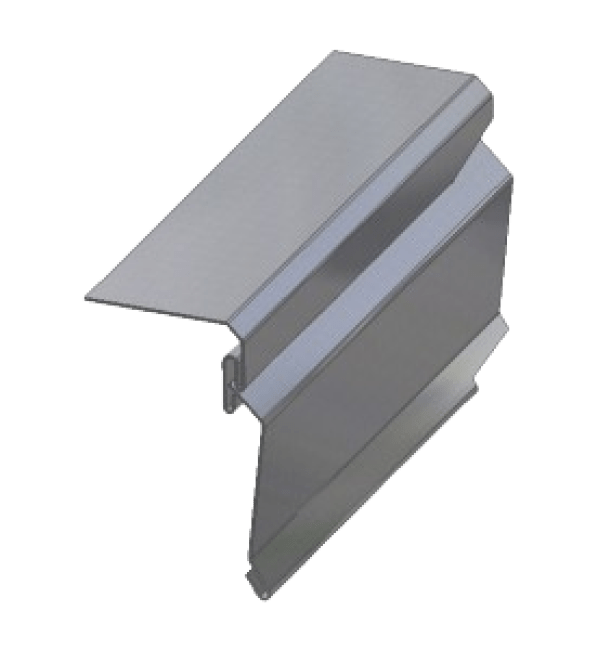
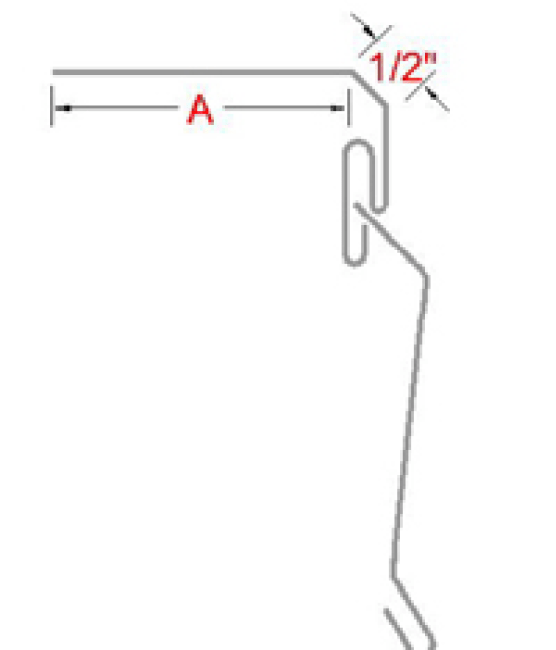

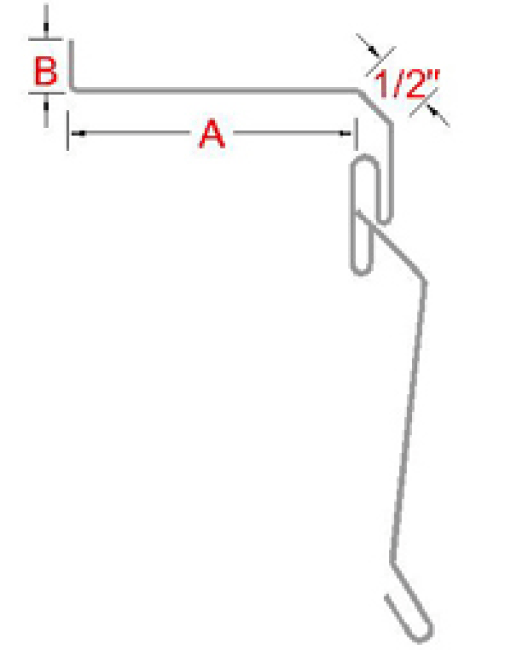
2-Piece Interlocking Counter Flashings (No Return Bend) Interlocking design makes it easier to solder in the field. Discover our 2-piece interlocking counter flashings designed without a return bend for a streamlined installation process. These flashings offer flexibility, allowing each component to be added at different stages for optimal efficiency. Installation Overview Receiver Section Installation: Start with the receiver section, which is typically positioned behind one course of brick. This straightforward design ensures effective water management while simplifying the installation process. Insert Installation: Once the base flashing is in place, the insert can be easily added. This staggered installation minimizes the risk of damaging materials and guarantees a secure, watertight fit.

Share
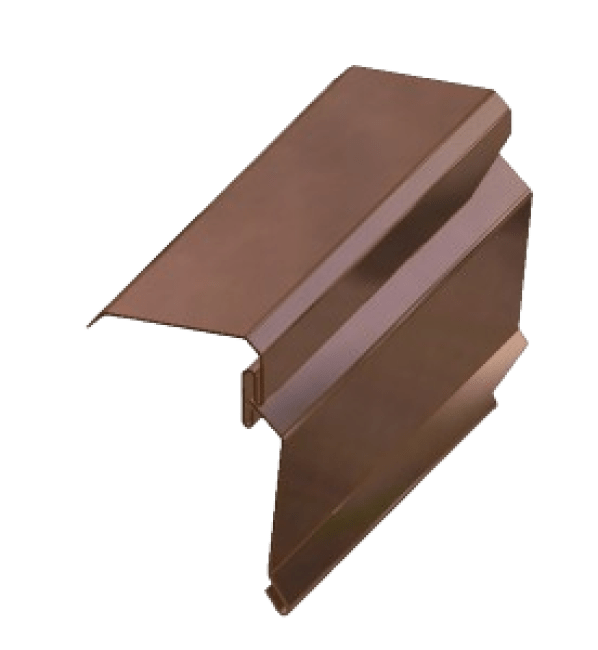
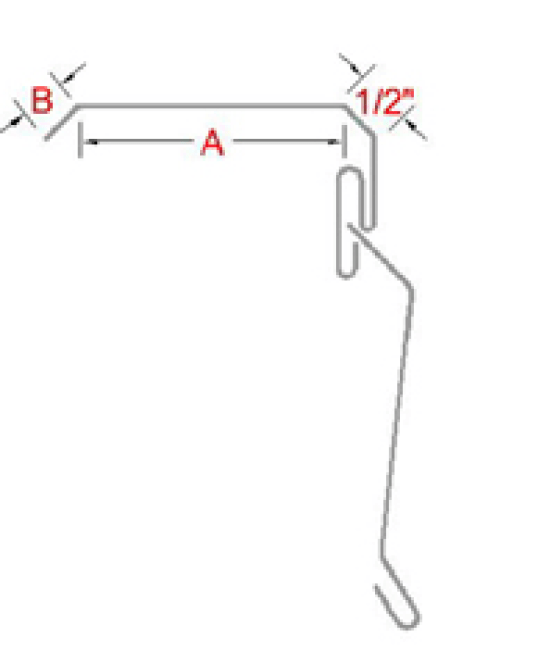
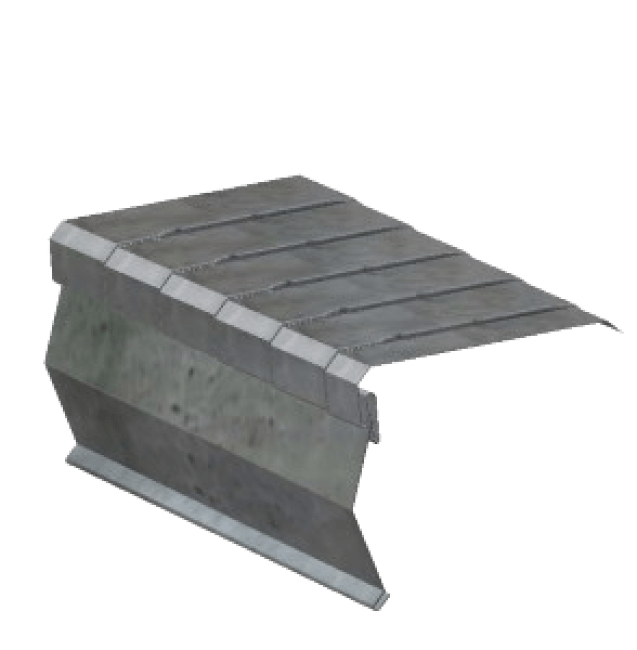
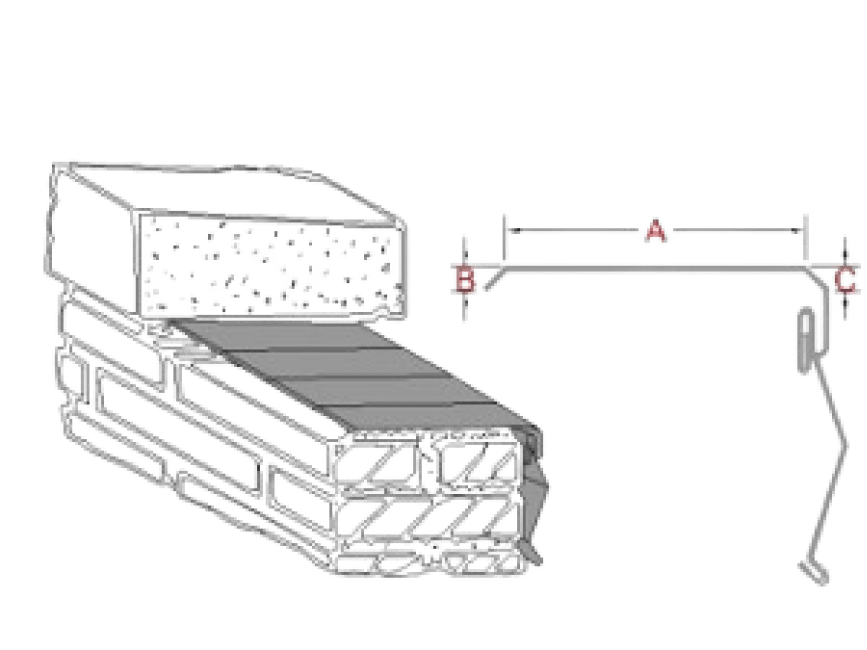

2-Piece Interlocking Counter Flashings (with Drip Edge Detail) Our 2-piece interlocking counter flashings with drip edge detail offer superior water management and easy installation. Designed for flexibility, these flashings allow for staggered installation, minimizing material damage and enhancing efficiency. The integrated drip edge directs water away from the structure, ensuring long-lasting protection against moisture infiltration. Key Features: Interlocking design makes soldering joints properly easier Efficient Water Management: Drip edge ensures water runoff, protecting against leaks and wall damage. Flexible Installation: Each section can be installed at different stages for convenience and ease. Durable Construction: Built to withstand weathering, reducing maintenance needs over time.

Share